> ## Documentation Index
> Fetch the complete documentation index at: https://omni.fireflo.au/llms.txt
> Use this file to discover all available pages before exploring further.
# Domains and email
> How to put a reseller's own web address live, set up the email server every message to customers goes through, open self-signup, and tell customers how to pay.
## Domains
A reseller can run its panel under its own name, logo and colour, at its own web
address. It sets these up on its own [Branding](/using/branding) page. **Platform →
Domains** lists every domain a reseller has asked for, and is where you take the last
step: putting it live.
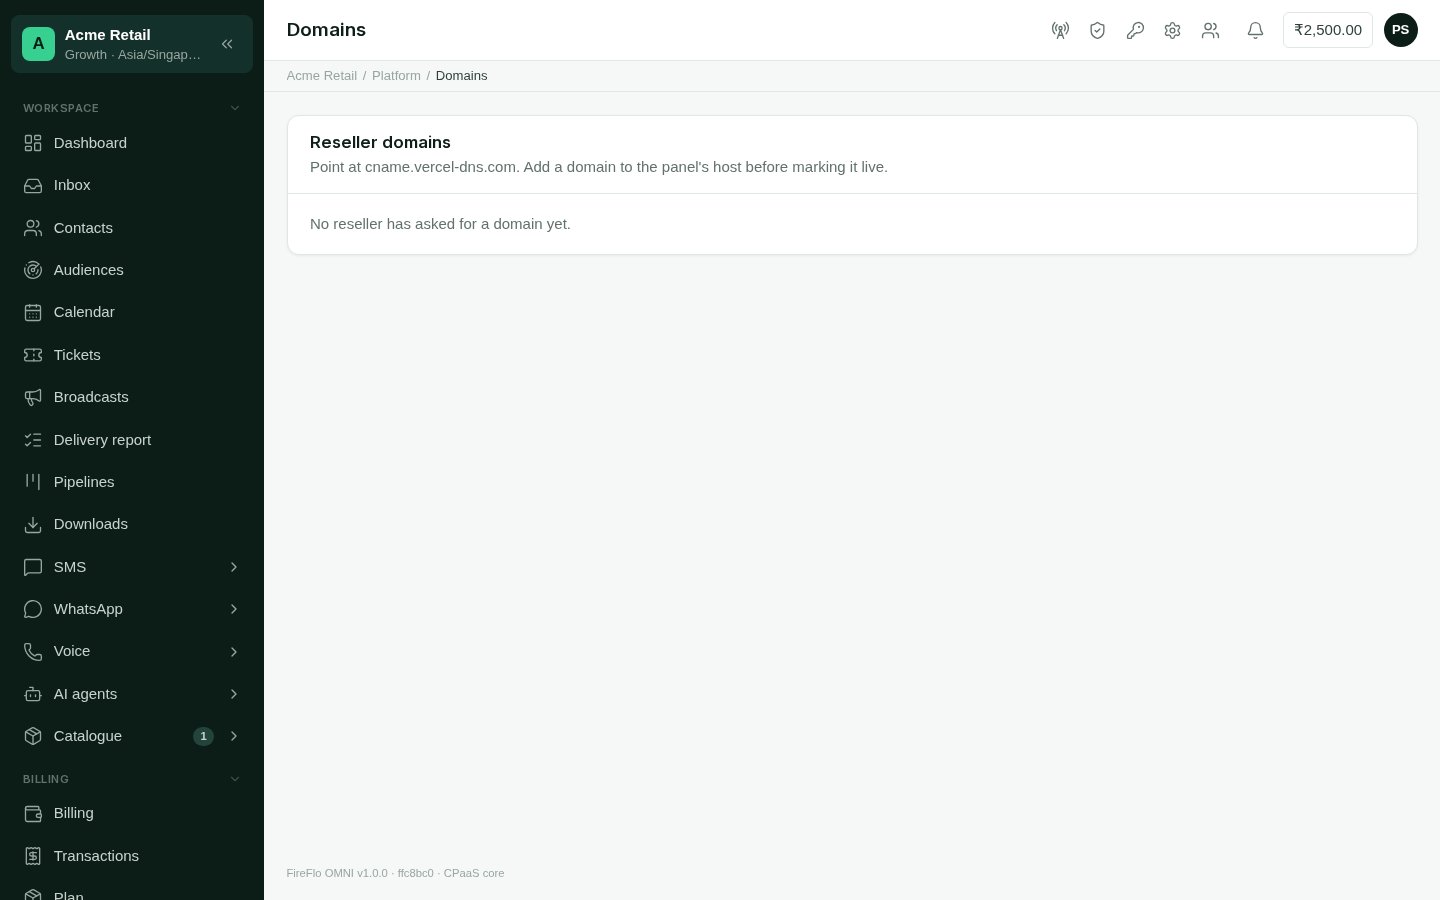 Each domain shows the reseller (select it to open their customer page), the brand name,
when its DNS was last checked, any DNS error, and a status:
| Status | Meaning |
| :- | :- |
| **Waiting for their DNS** | The reseller hasn't added both records yet, or they haven't been found. |
| **DNS found** | Both records are in place. Ready to go live. |
| **Live** | The panel answers on this address under the reseller's brand. |
Until a domain is live, the page shows the two DNS records the reseller must add, ready to
copy:
* a **CNAME**, which points the address at the panel;
* a **TXT** record, which proves the domain is the reseller's. Without it, anyone could
point an address at the panel and claim someone else's brand.
The reseller checks its records from its Branding page.
### Put a domain live
**Mark live** is only available once the status is **DNS found**.
The panel has to be set up to answer on the new address, with a certificate for it,
before you put it live.
Select **Mark live**.
Once a domain is live:
* the reseller and its customers can sign in at that address, which shows the reseller's
name, logo and colour;
* emails to them link to that address and carry the reseller's name;
* anyone who signs up at that address becomes the reseller's customer.
Select **Take it off** to undo this. The address stops serving the reseller's brand, and
links go back to your own panel's address.
## Email
**Platform → Email** holds the email server, self-signup, and your payment instructions.
Each domain shows the reseller (select it to open their customer page), the brand name,
when its DNS was last checked, any DNS error, and a status:
| Status | Meaning |
| :- | :- |
| **Waiting for their DNS** | The reseller hasn't added both records yet, or they haven't been found. |
| **DNS found** | Both records are in place. Ready to go live. |
| **Live** | The panel answers on this address under the reseller's brand. |
Until a domain is live, the page shows the two DNS records the reseller must add, ready to
copy:
* a **CNAME**, which points the address at the panel;
* a **TXT** record, which proves the domain is the reseller's. Without it, anyone could
point an address at the panel and claim someone else's brand.
The reseller checks its records from its Branding page.
### Put a domain live
**Mark live** is only available once the status is **DNS found**.
The panel has to be set up to answer on the new address, with a certificate for it,
before you put it live.
Select **Mark live**.
Once a domain is live:
* the reseller and its customers can sign in at that address, which shows the reseller's
name, logo and colour;
* emails to them link to that address and carry the reseller's name;
* anyone who signs up at that address becomes the reseller's customer.
Select **Take it off** to undo this. The address stops serving the reseller's brand, and
links go back to your own panel's address.
## Email
**Platform → Email** holds the email server, self-signup, and your payment instructions.
 ### Email server
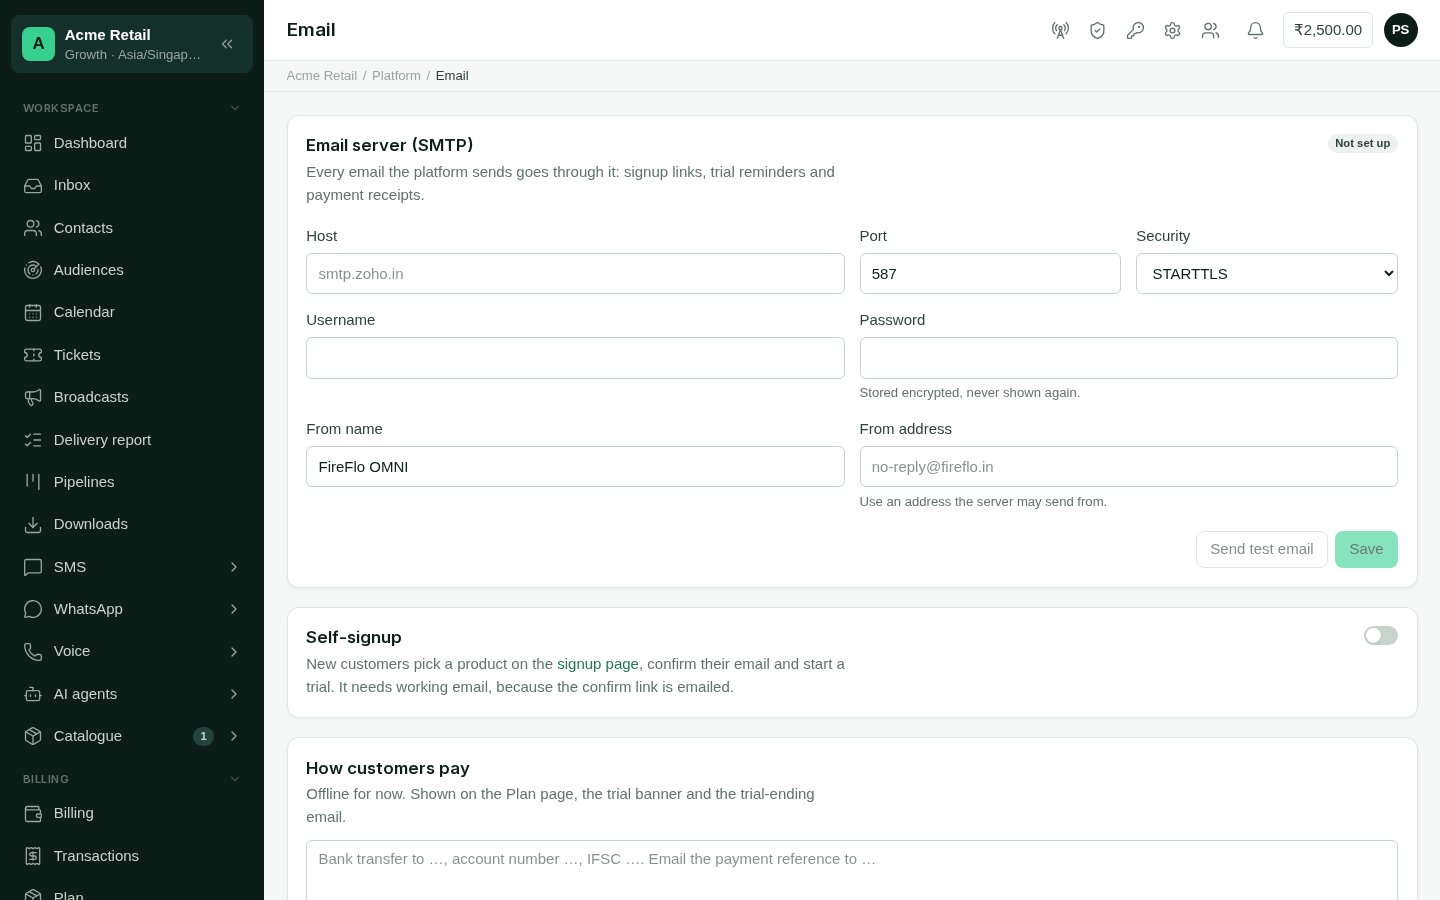
Every email the platform sends goes through this server: signup links, invitations,
trial reminders and payment receipts.
Enter the **Host**, **Port** and **Security** (STARTTLS, SSL/TLS or None), the
**Username** and **Password**, and the **From name** and **From address**. Use an
address the server is allowed to send from.
Select **Save**. The password is stored encrypted and never shown again. Leave it
blank on a later save to keep it.
Select **Send test email**. It goes to your own address. Check that it arrived. If it
didn't send, the page shows why.
Changing the host, port, security, username, password or from address marks the server
untested again. Send another test afterwards.
### Self-signup
Turn on **Let new customers sign up** to open the signup page. New customers pick a
product that's [offered at signup](/operators/products-and-plans), confirm their email
and start a trial.
Signup needs working email, because the confirmation link is emailed. You can't open
signup until a test email has gone through. If the server later changes and hasn't been
tested again, signup stays switched on but is closed to visitors until a test succeeds.
### How customers pay
Payment is offline for now. Write your instructions in the box, such as bank details and
where to send the payment reference, and select **Save**. Customers see them on their
**Plan** page, in the trial banner and in the email warning that their trial is ending.
When the money arrives, [record the payment](/operators/customers#billing) on the
customer's page.
This documentation is built and hosted on [Mintlify](https://mintlify.com), a developer documentation platform.
### Email server
Every email the platform sends goes through this server: signup links, invitations,
trial reminders and payment receipts.
Enter the **Host**, **Port** and **Security** (STARTTLS, SSL/TLS or None), the
**Username** and **Password**, and the **From name** and **From address**. Use an
address the server is allowed to send from.
Select **Save**. The password is stored encrypted and never shown again. Leave it
blank on a later save to keep it.
Select **Send test email**. It goes to your own address. Check that it arrived. If it
didn't send, the page shows why.
Changing the host, port, security, username, password or from address marks the server
untested again. Send another test afterwards.
### Self-signup
Turn on **Let new customers sign up** to open the signup page. New customers pick a
product that's [offered at signup](/operators/products-and-plans), confirm their email
and start a trial.
Signup needs working email, because the confirmation link is emailed. You can't open
signup until a test email has gone through. If the server later changes and hasn't been
tested again, signup stays switched on but is closed to visitors until a test succeeds.
### How customers pay
Payment is offline for now. Write your instructions in the box, such as bank details and
where to send the payment reference, and select **Save**. Customers see them on their
**Plan** page, in the trial banner and in the email warning that their trial is ending.
When the money arrives, [record the payment](/operators/customers#billing) on the
customer's page.
This documentation is built and hosted on [Mintlify](https://mintlify.com), a developer documentation platform.