
- Your account’s plan must include API access. You can check under Plan in the panel.
- You need the Owner or Admin role to make keys and webhooks.
- At least one channel should be connected, so a message has somewhere to go. A test key works without one.
1. Make a key
1
Find the Base URL
In the panel, open API & playground (under OMNI API in the menu). It shows
the API’s Base URL. Copy it: every request below starts with it.
2
Create a key
Open Developers from the icons at the top of the panel, and choose New key. Give it a name that says which server uses it, tick what it
may do, and optionally limit the addresses it works from. For this guide, tick
messages:send and messages:read.Tick Test key to practise: a test key works the same way, but nothing it sends
reaches a channel.3
Copy it now
The key is shown once. Live keys start
ff_live_, test keys ff_test_. Keep
it on your server, never in a browser or an app.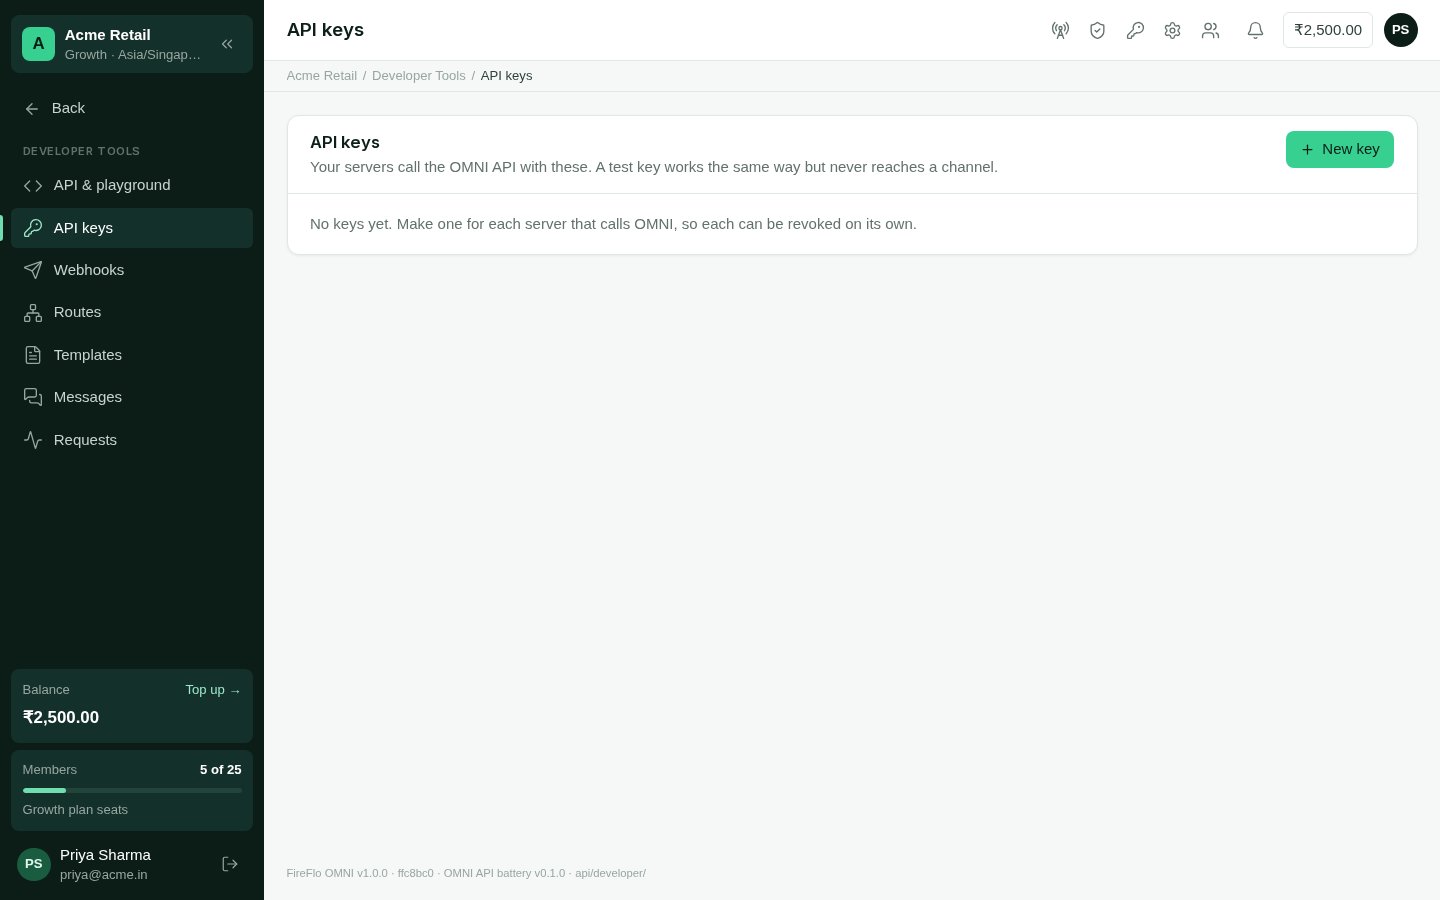
Developers: your keys, what each may do, and where it works from.
2. Check the key
GET /v1/me answers with the account and plan the key belongs to, and what the key may
do. It needs no particular scope, so it is the first call any integration should make.
key object carries a few more fields: see
GET /v1/me.)
3. Send a message
POST /v1/messages sends one message to one person. Give the number with its country
code in to, and what to say per channel in content. Without a route, OMNI tries
the account’s default route, or each channel the account has switched on, in turn,
until one gets there.
202 Accepted with the message as it stands: an id starting msg_, its
status, the steps it will try and the attempts so far. What happens next arrives
as events (step 4), or you can ask with GET /v1/messages/{id}.
Idempotency-Keymakes a retry safe: the same key is answered once, and its first answer repeated.purposeistransactional(the default) ormarketing. It decides which opt-outs and quiet hours apply. See Concepts.- Templates and routes: send a saved
templatewith itsvalues, and name arouteto choose the channels and their order. See Messages with failover.
{"error": {"code", "message", "field"}},
with a code that never changes. See Errors.
4. Receive a webhook
1
Add an endpoint
In Developers → Webhooks, choose Add an endpoint. Give an
https://
address on your server that answers with a 2xx, and pick the events it wants, or
All events. Copy the signing secret; it starts whsec_ and is shown once.2
Check the signature
Every delivery carries an
X-FireFlo-Signature header: t=<unix seconds>,v1=<hex>.
v1 is the HMAC-SHA256 of "<t>.<raw body>" with your signing secret. Check it
against the raw bytes, before parsing, and refuse old timestamps.3
Send a test
Choose Send a test beside the endpoint. A
webhook.test event arrives at
your server, and the screen says how it went.Where to go next
Developers
Keys and scopes, conventions, errors and the playground.
API reference
Every endpoint, with a request you can try.