
Domains
A reseller can run its panel under its own name, logo and colour, at its own web address. It sets these up on its own Branding page. Platform → Domains lists every domain a reseller has asked for, and is where you take the last step: putting it live.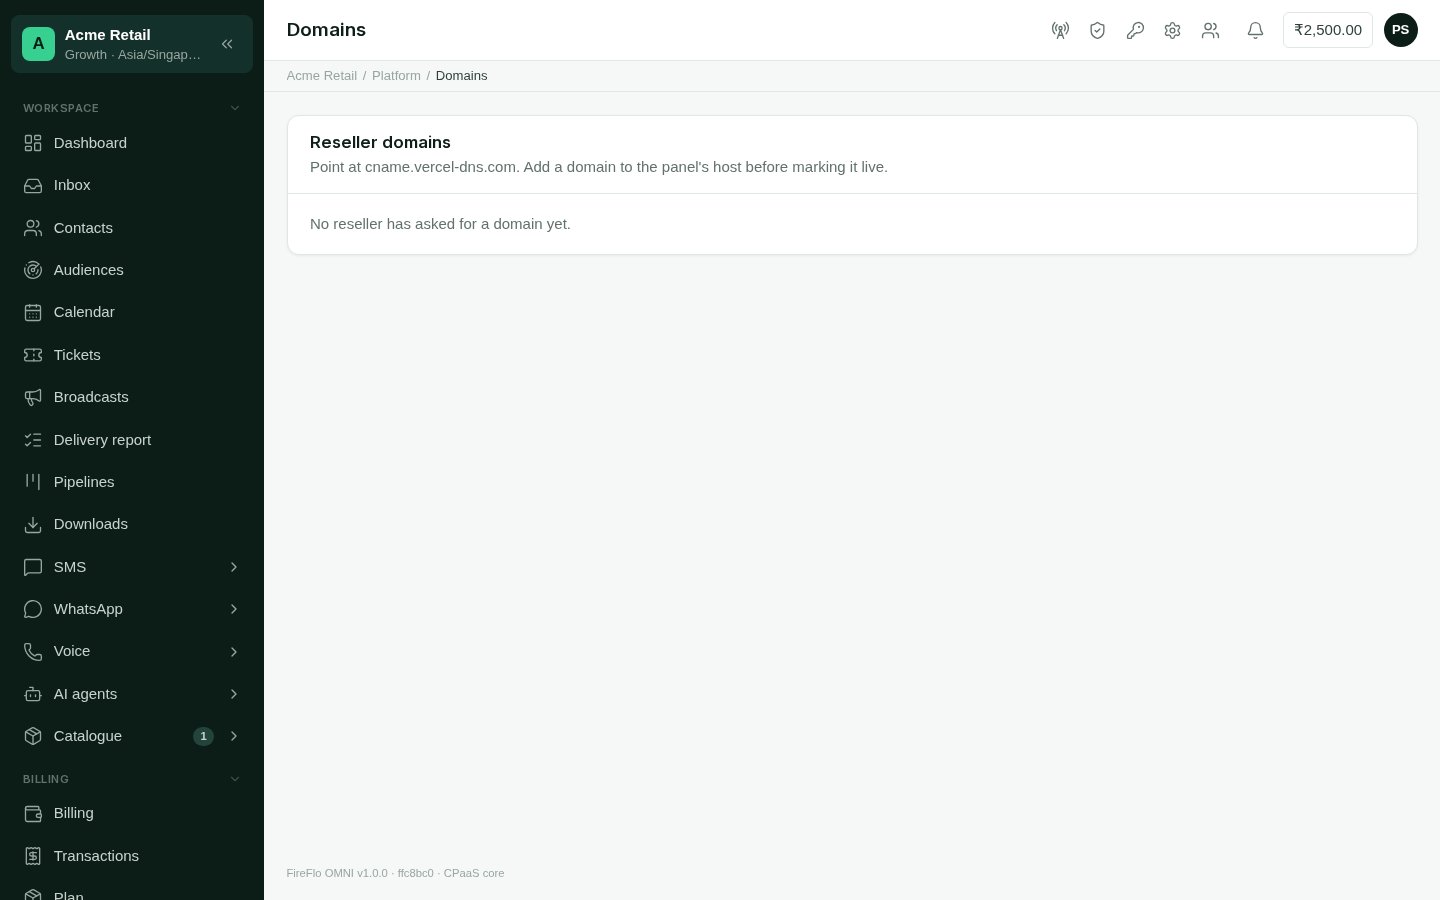
Platform → Domains: every reseller's domain and where it has got to.
Until a domain is live, the page shows the two DNS records the reseller must add, ready to
copy:
- a CNAME, which points the address at the panel;
- a TXT record, which proves the domain is the reseller’s. Without it, anyone could point an address at the panel and claim someone else’s brand.
Put a domain live
1
Wait for DNS found
Mark live is only available once the status is DNS found.
2
Make sure the address is served
The panel has to be set up to answer on the new address, with a certificate for it,
before you put it live.
3
Mark it live
Select Mark live.
- the reseller and its customers can sign in at that address, which shows the reseller’s name, logo and colour;
- emails to them link to that address and carry the reseller’s name;
- anyone who signs up at that address becomes the reseller’s customer.
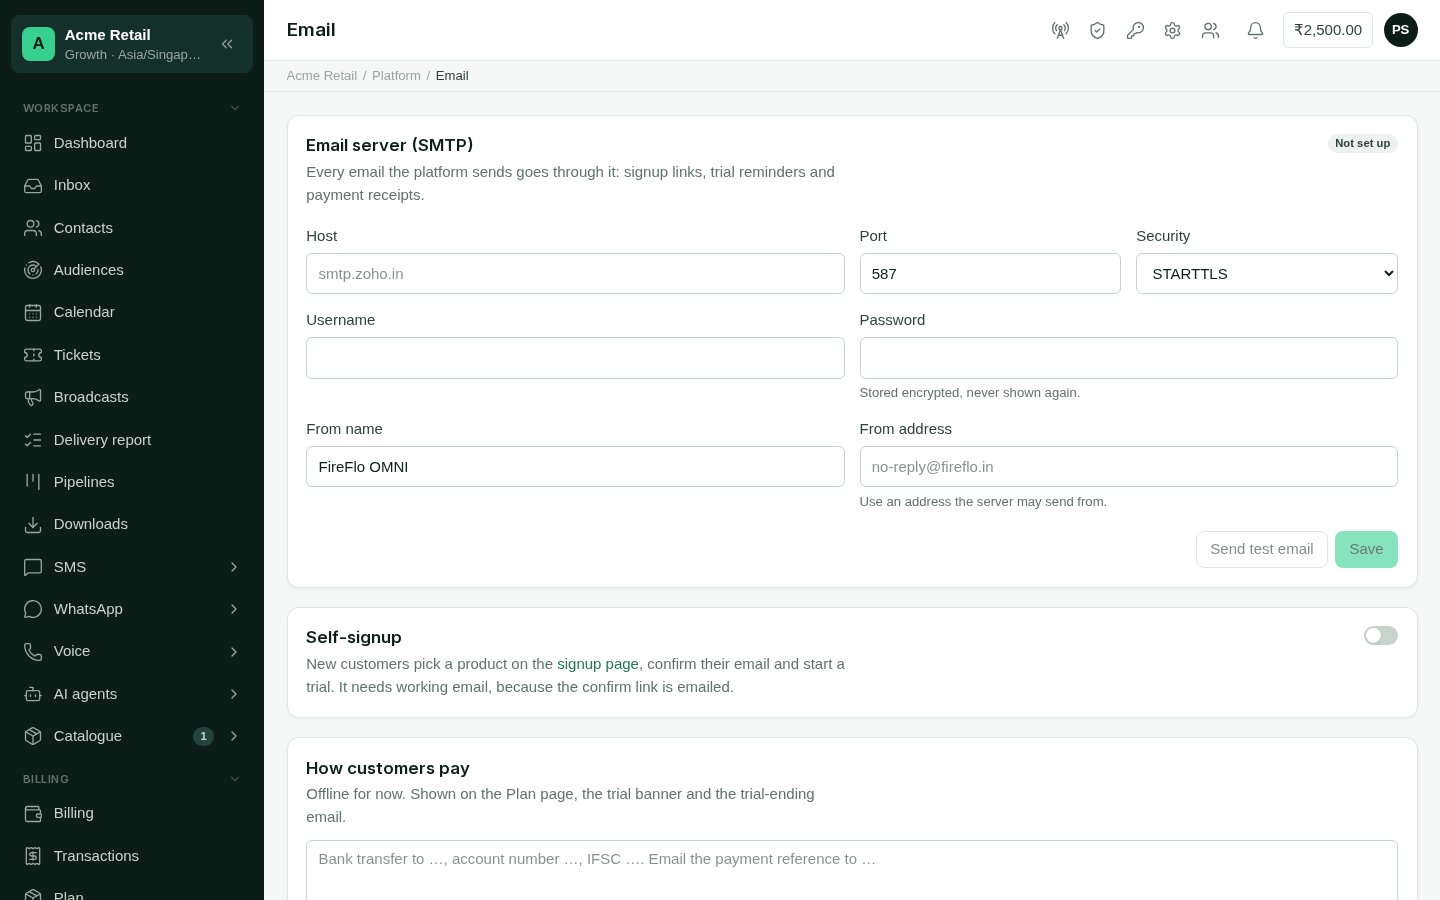
Platform → Email: the email server, self-signup and how customers pay.
Email server
Every email the platform sends goes through this server: signup links, invitations, trial reminders and payment receipts.1
Fill in the server
Enter the Host, Port and Security (STARTTLS, SSL/TLS or None), the
Username and Password, and the From name and From address. Use an
address the server is allowed to send from.
2
Save
Select Save. The password is stored encrypted and never shown again. Leave it
blank on a later save to keep it.
3
Send a test
Select Send test email. It goes to your own address. Check that it arrived. If it
didn’t send, the page shows why.